Some people may think that rooting the Android device is just for advanced and high end quality smartphone users. The task looks kinda messy, but provides you an amazing experience on your device if it's successfull. But fortunately, if you want toroot your Android phone, it is not difficult anymore. Rooting is similar toJailbreakingyouriPhone. After you root your device, the phone’s security is fully unconditionally open and the user can modify the system. Also, one can run several tools, like loading custom ROMs, adding the boot manager, adjusting frequency of processor, etc.
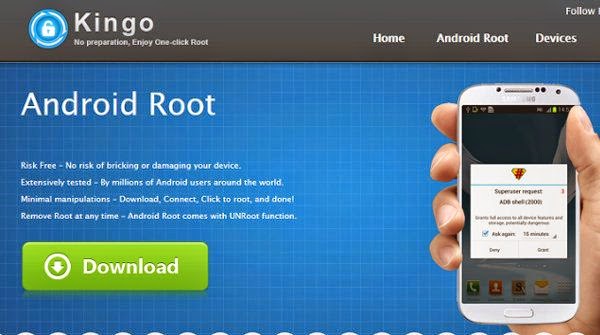
Here, we have the free utility software that runs in Windows Operating System for rooting Android devices easily;Kingo Android Root. This tool is free and you can download this software through KingoApp website.
Before rooting your Android device, make sure your device is available in the compatibility list. Possibly, in some cases, most Android device can be rooted by this software even if they are not listed in compatibility queue,butwe would recommend you to do so if your device is available in the list. Here are the step-by-step instructions for using the utility: -> Enable USB debugging mode on your phone.If it’s running Android 4.0 or 4.1, tap Settings, -> Developer Options, then tick the box for “USB debugging.”
(You may need to switch “Developer options” to On before you can do so.) OnAndroid 4.2, tap Settings, About Phone, Developer Options, and then tick USB debugging.” Then tap OK to approve the setting change. Android 4.3and later (andsome versions of 4.2), tap Settings, About Phone, then scroll down to Build Number.
Tap it seven times, at which point you should see the message,“You are now a developer!” -> Run Android Root on your PC, then connect your phone via its USB sync cable. After a moment, the former should show a connection to the latter. -> Click Root, then wait while the utility does its processing. The fore-mentioned supreme take all of about two minutes, including the automated reboot at the end. -> And that’s all there is to it.And if in caseyou you want to reverse the process, just run Android Root again, connect your phone, then click Remove Root. Haha! It's never been this easier!
Source : technotification.com